


This D-STAR for Beginners guide walks you through every step – from choosing your first D-STAR capable radio and registering your callsign to linking reflectors, using a hotspot, and making your first digital QSO. Whether you’re brand-new to ham radio or just getting into digital voice, you’ll be on the air with D-STAR in no time.
If you’ve just earned your ham radio license and you’re curious about digital voice, D-STAR is one of the classic – and still very popular – ways to get started.
Originally developed with amateur radio in mind (not commercial radio), D-STAR was designed to carry clean digital voice, plus data like callsigns and GPS location, over VHF/UHF. It also lets you link repeaters and hotspots over the Internet so you can talk with hams around the world using nothing more than a handheld.
In this D-STAR for Beginners guide, we’ll walk through what D-STAR is, how it works, what gear you’ll need, and exactly how to make that first on-air contact.
D-STAR for Beginners: Meet D-STAR
D-STAR stands for “Digital Smart Technologies for Amateur Radio.” It’s a digital voice and data mode that transmits your audio not as an analog signal, but as compressed digital data using a voice codec (AMBE). That gives you crisp, consistent audio right up to the edge of coverage – instead of the gradual static fade you get with analog FM.
But D-STAR goes further than just clean audio. Along with your voice, it can send your callsign, short text messages, and GPS position (if your radio supports it). That means the station on the other end doesn’t just hear you – they can also see who you are and, sometimes, where you are.
D-STAR was developed in Japan by the Japan Amateur Radio League (JARL) in the late 1990s, making it one of the few digital voice standards created specifically for amateur radio – not adapted from commercial or public-safety systems.
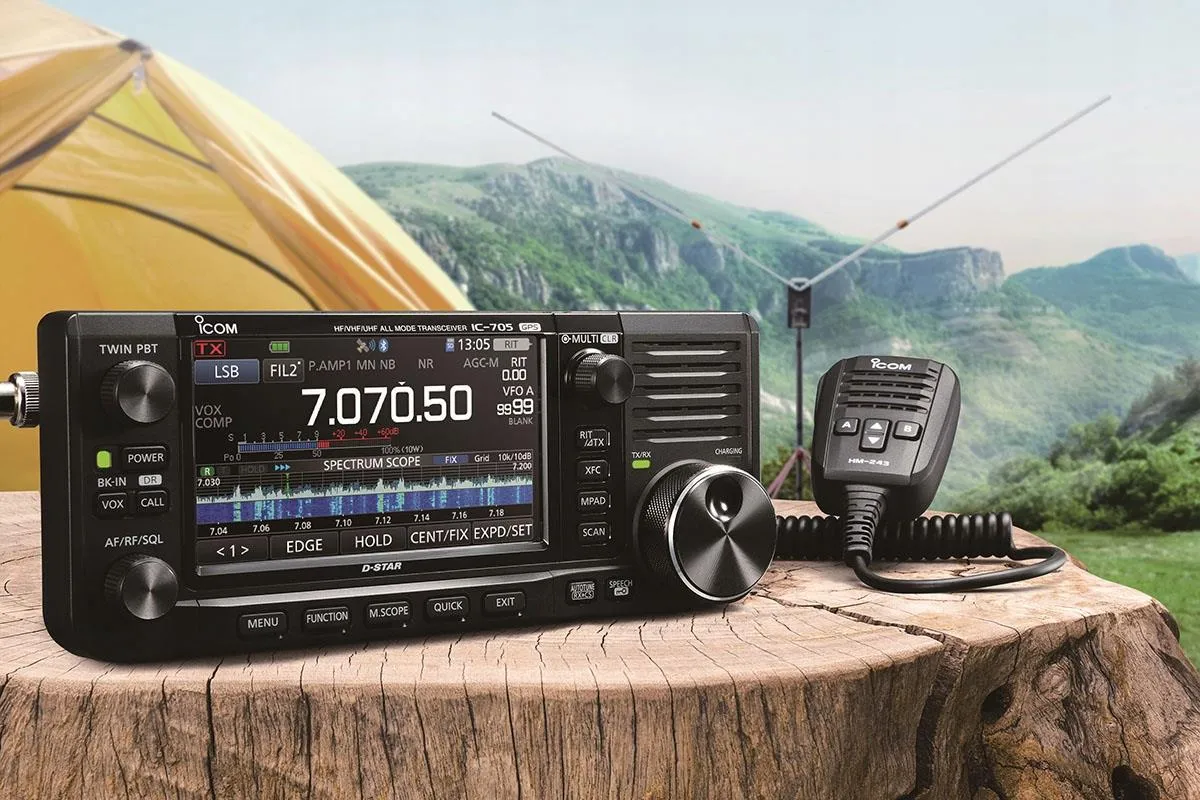
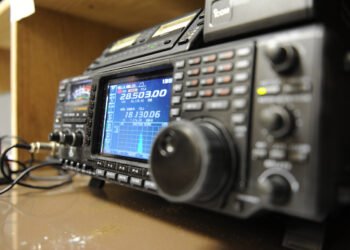
Icom became the first major manufacturer to bring D-STAR radios to market, and for many years it remained the only company producing radios with full, native support. Today, Icom still offers the broadest and most mature D-STAR lineup. Models like the ID-50A and ID-52, along with all-band transceivers such as the IC-705 and IC-9700, form much of the backbone of the D-STAR ecosystem.
Kenwood has since re-entered the D-STAR space, introducing the TH-D75, a modern dual-band handheld with GPS, APRS, and full D-STAR capability.
While Icom continues to provide the most complete end-to-end D-STAR experience – including radios, repeaters, and gateway infrastructure, it is no longer the only manufacturer offering native D-STAR radios. Kenwood’s earlier TH-D74A, along with its new TH-D75, shows the company’s ongoing, though more limited, participation in the D-STAR market. Still, Icom remains the dominant force behind D-STAR’s global hardware ecosystem.
Choosing Your First D-STAR Radio
Your D-STAR journey begins with a radio that actually speaks D-STAR.
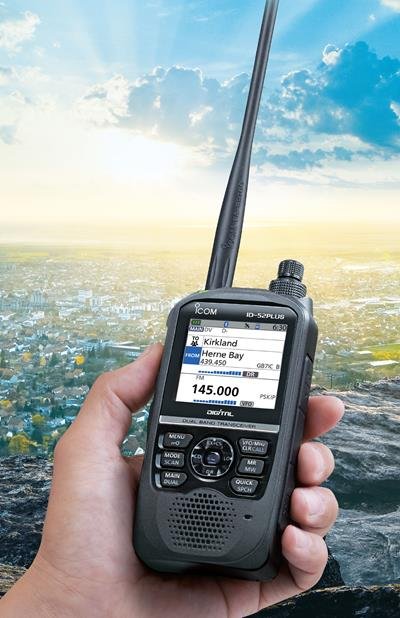
If you want a handheld, radios like the Icom ID-52A PLUS (or earlier ID-51 series) are popular because they’re built for D-STAR right out of the box. They’ll do FM for local analog repeaters and D-STAR for digital voice, plus GPS features for position reporting.
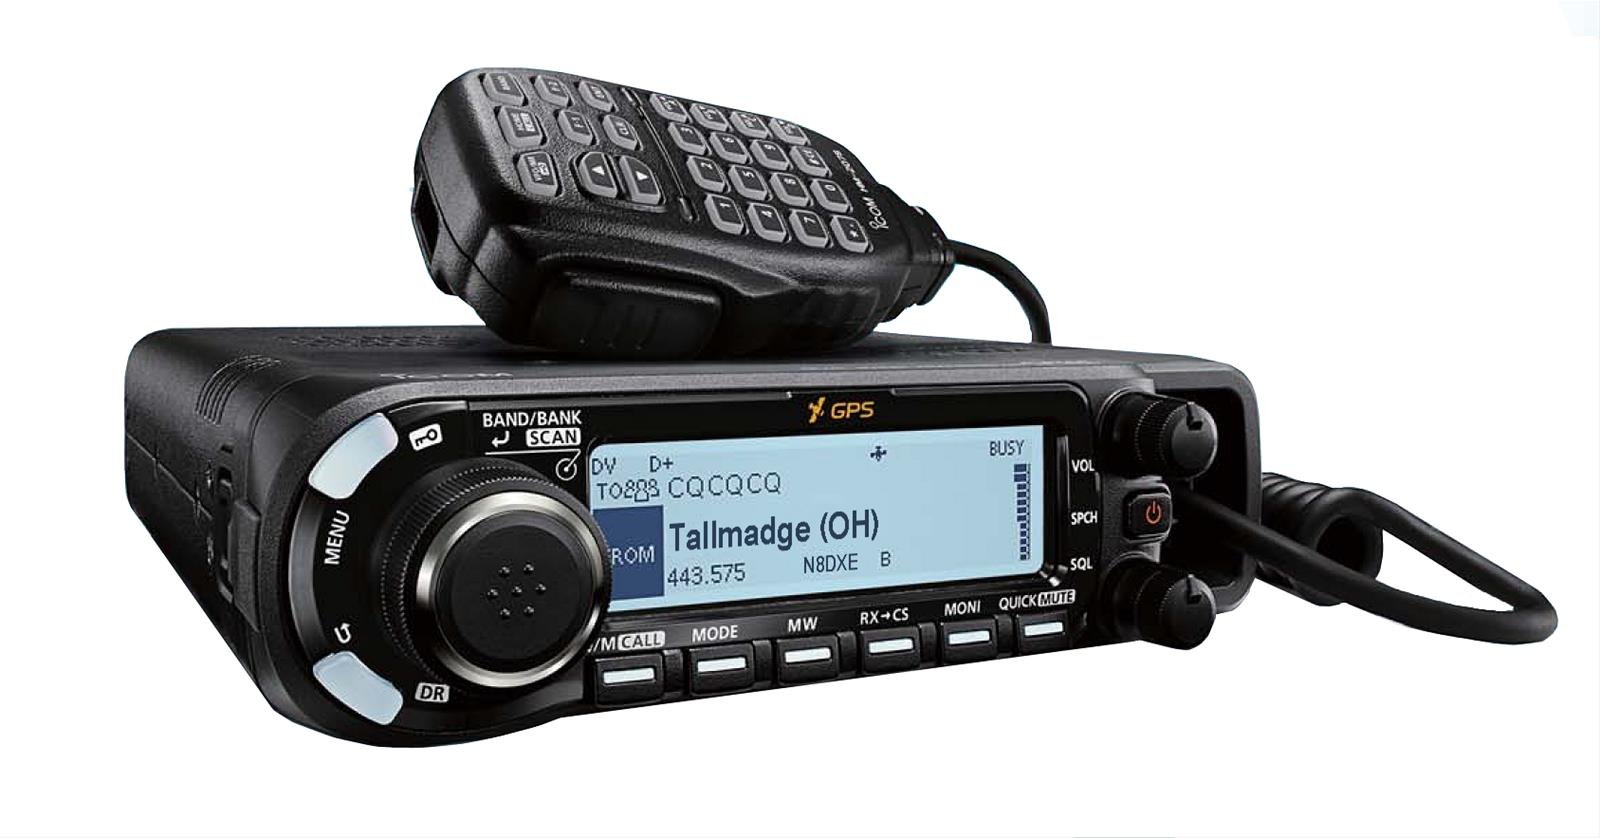
For mobile or base use, the Icom ID-4100A is a favorite. It’s a dual-band mobile rig that gives you a bigger display, easier controls in the car or shack, and full D-STAR capability with built-in support for digital voice and data.
Some operators also love the Kenwood TH-D74A (now discontinued but still sought-after on the used market). It became popular for its excellent receive performance, APRS capability, and integrated D-STAR support in a single handheld. Kenwood’s new TH-D75 continues that legacy, offering modern updates, full D-STAR support, and a more robust feature set for today’s operators.
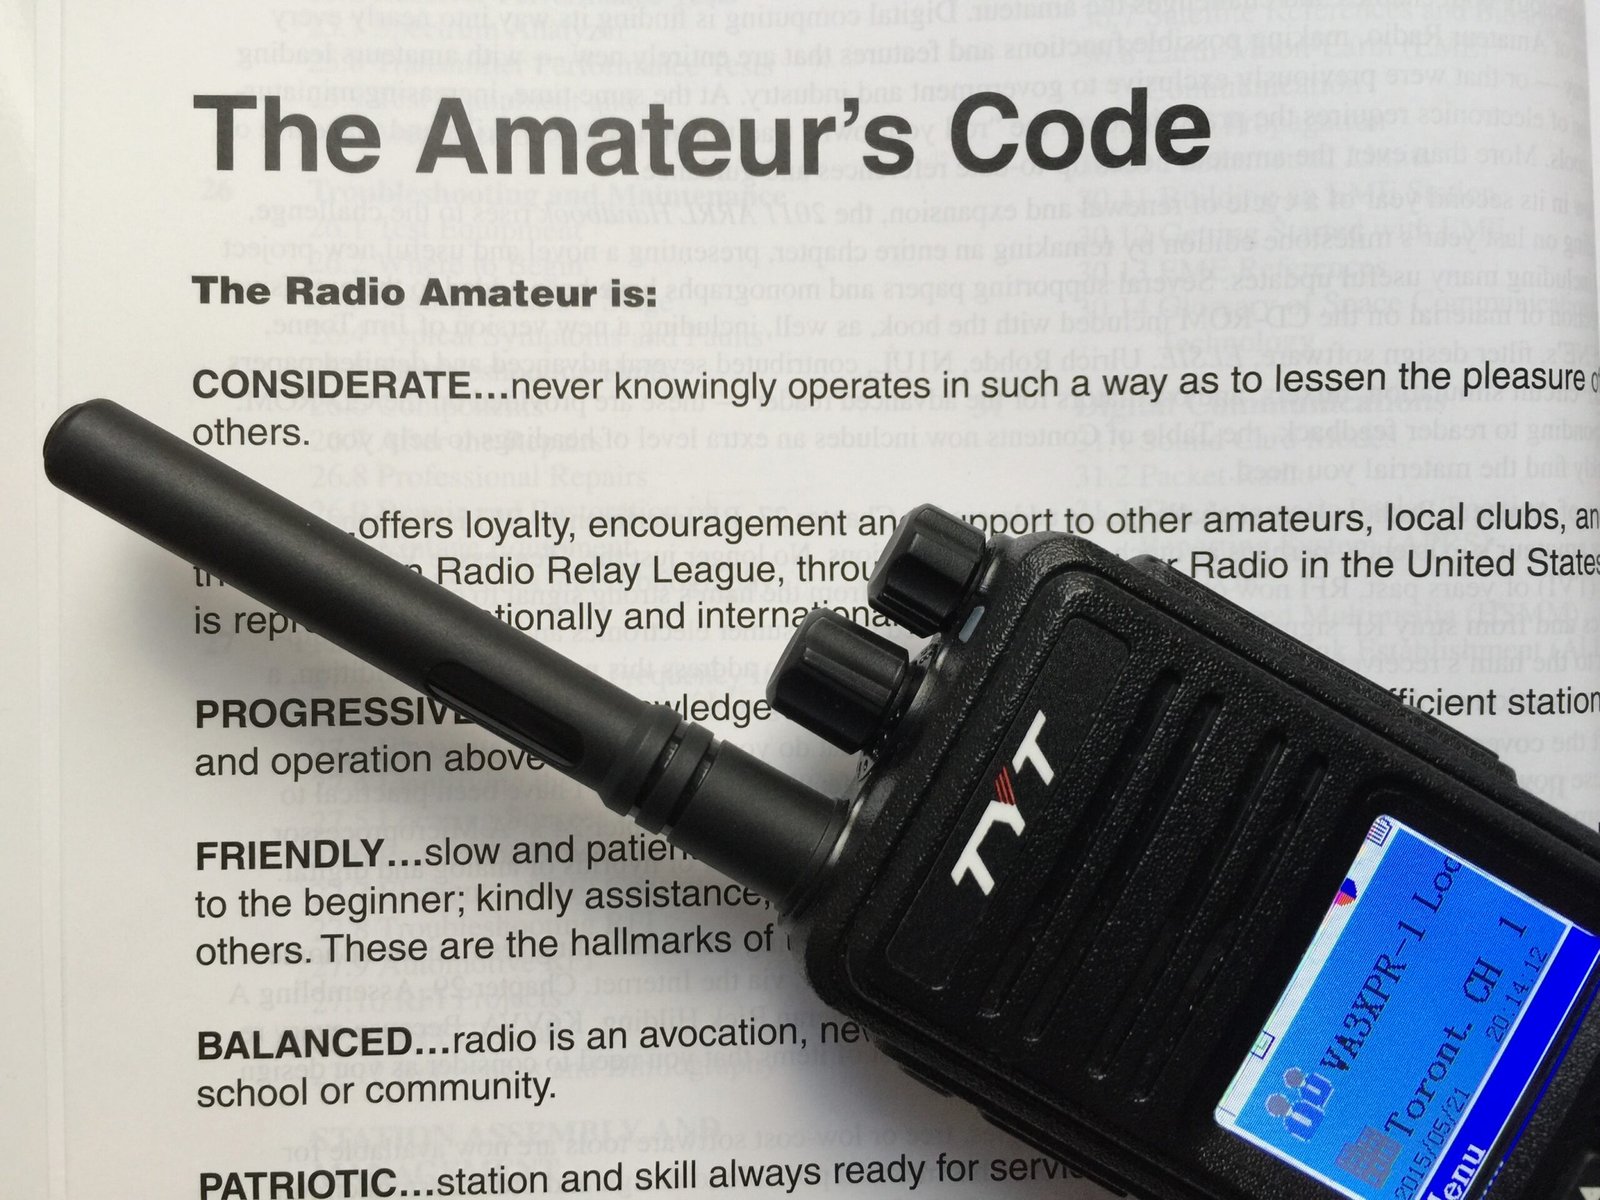
Whichever radio you pick, make sure “D-STAR” is explicitly listed in the specs. Plain FM-only handhelds won’t do it, and a DMR or Fusion radio won’t talk D-STAR unless you’re using special cross-mode tools (more on that later).
How D-STAR Actually Works
On the air, D-STAR feels familiar: you key up, you talk, someone answers.
Behind the scenes, something clever is happening.
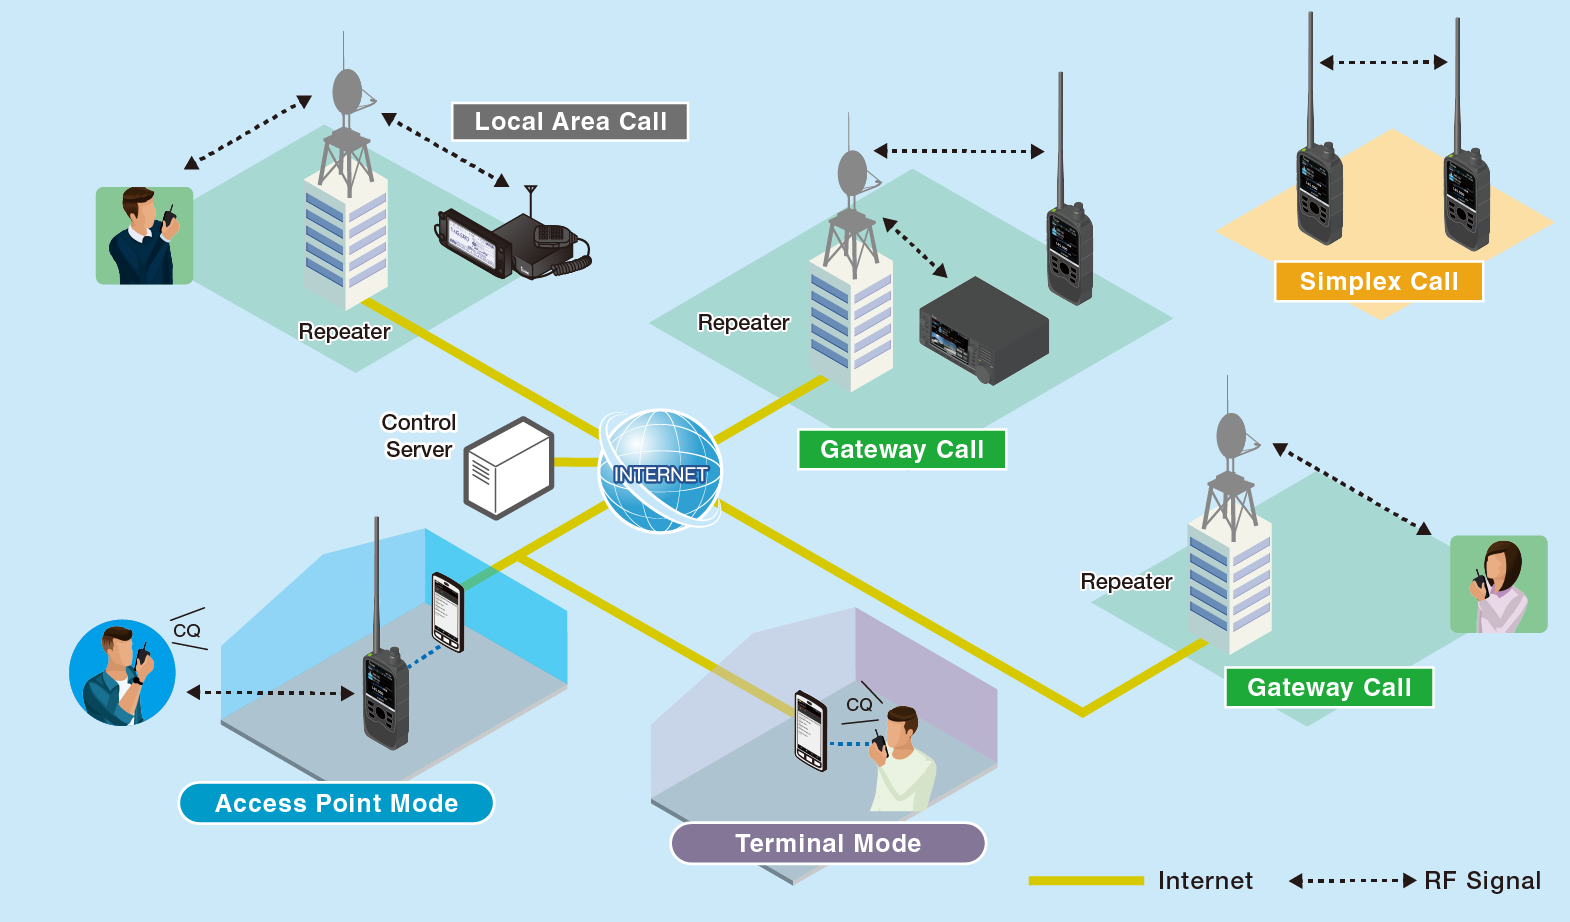
When you transmit, your radio digitizes your voice and sends it to either:
- a D-STAR repeater on VHF/UHF, or
- a personal hotspot (a tiny low-power gateway you control).
From there, that repeater or hotspot can link through the Internet to something called a reflector.
A reflector is basically a digital meeting room. Think of it like a worldwide chat channel. When you’re connected to a reflector, your voice can be heard by anyone else connected to that same reflector, no matter where they are physically.
This is why D-STAR is so appealing to new hams: with nothing more than a handheld and a good connection, you can talk to another operator across an ocean in normal conversational voice quality.
In practical terms, this means:
- You can sit at home with a handheld.
- Key up into your hotspot.
- And be in a QSO with someone thousands of kilometers away in seconds.
Registering Your Callsign for D-STAR
There’s one step that surprises a lot of first-time D-STAR users: you need to register your callsign on the D-STAR network so the system knows who you are.
This isn’t the same thing as getting a DMR ID – you don’t get assigned a number – but you do need to be added to the network’s callsign database so gateways and reflectors will pass your traffic.
Usually, this is done through a club or repeater group that hosts a D-STAR gateway. Many clubs have a simple web form where you enter your callsign and contact info. Once you’re approved, your callsign is recognized across the network and you’re free to link reflectors and talk through gateways.
You typically only need to do this once.
Pro Tip: If you’re not sure where to register, ask on a local club net or check the website of the nearest D-STAR repeater. Most repeater owners are used to onboarding new hams and will happily get you set up.
Programming Your Radio
Programming a D-STAR radio is a little different from just punching in a frequency and tone like you would for analog FM.
You still enter the repeater frequency and offset, but now you’re also dealing with:
- Your callsign (which is transmitted digitally with your voice),
- RPT1 and RPT2 fields (which tell your radio which repeater module you’re using and where to send the traffic), and,
- The reflector or link target (where you ultimately want your audio to go).
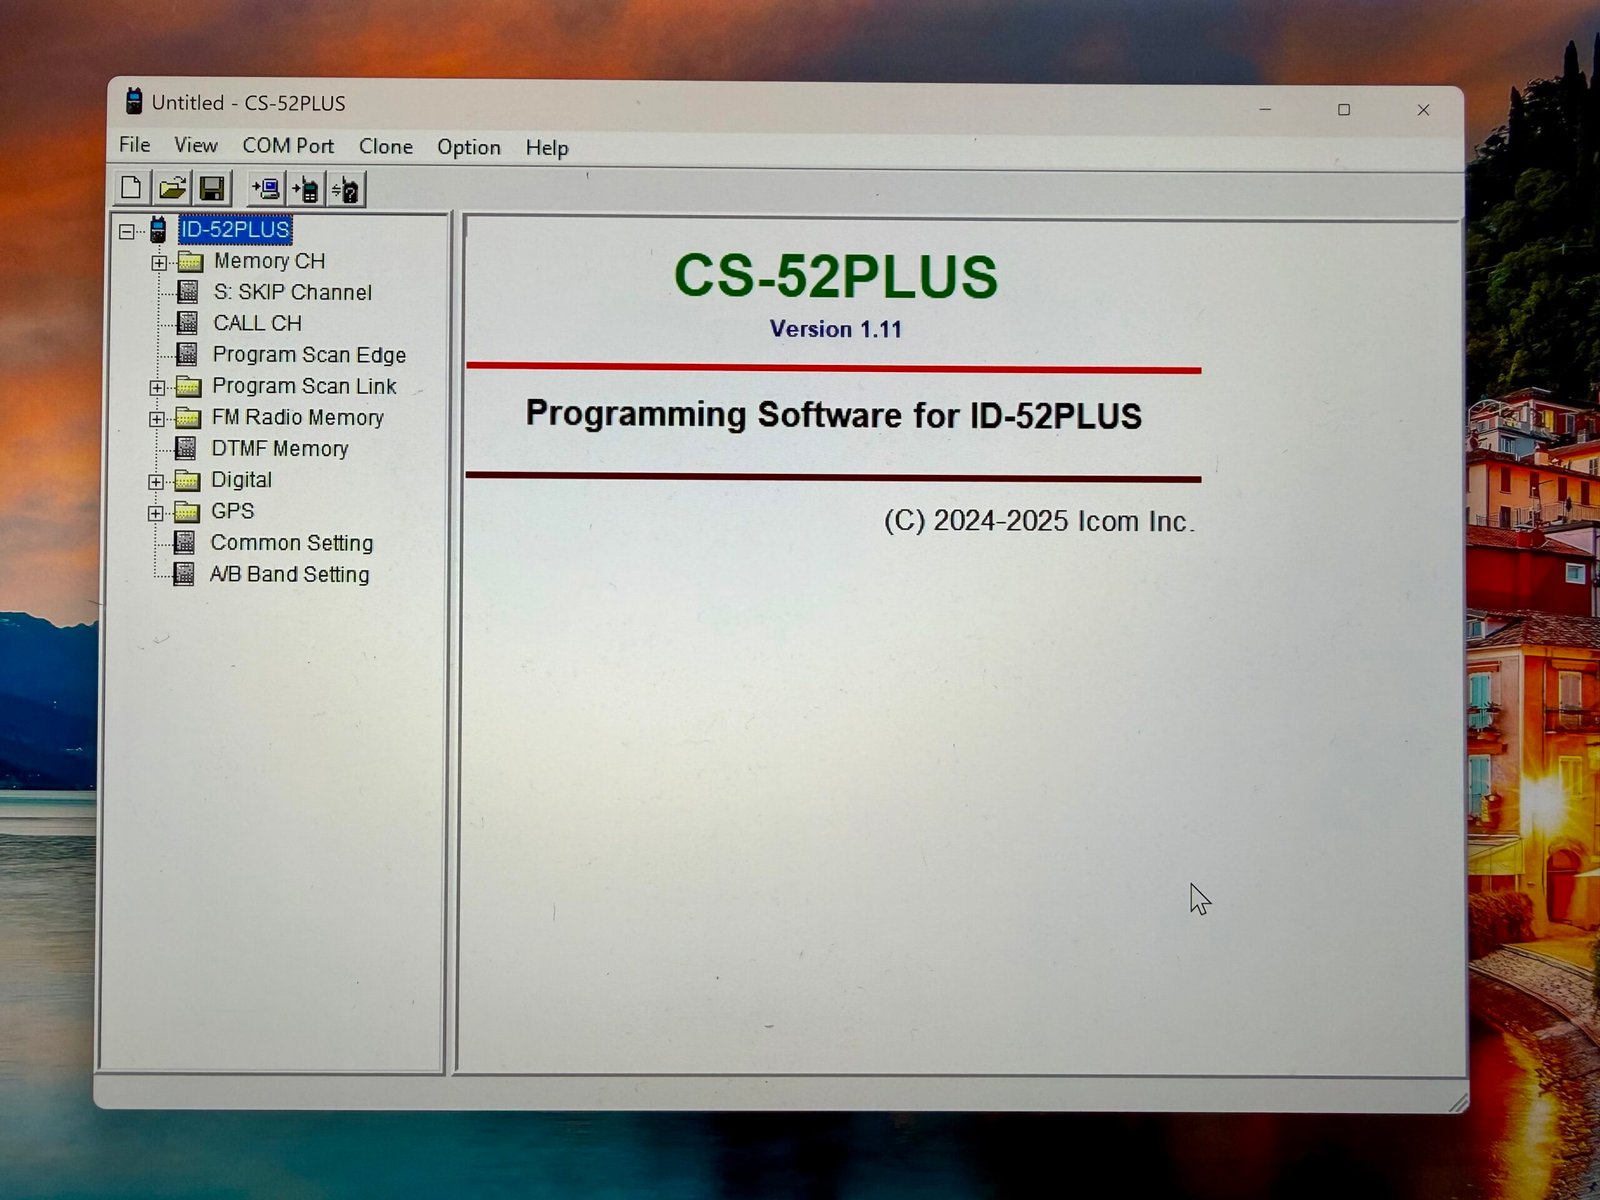
Many Icom D-STAR radios let you fill this in using the front panel, but life gets easier with the manufacturer’s software or a third-party programming tool. Just like we do with codeplugs in DMR, you’ll build memories for local repeaters, hotspot channels, and favorite reflectors so you can switch between them quickly.
Once you’ve got a few entries programmed, for example, your nearest D-STAR repeater and a hotspot frequency, you’re basically ready to transmit.
Linking to a Reflector (and Why It’s Fun)
In Fusion, you join “rooms.”
In DMR, you select “talkgroups.”
In D-STAR, you link to “reflectors.”
Different word, same idea.
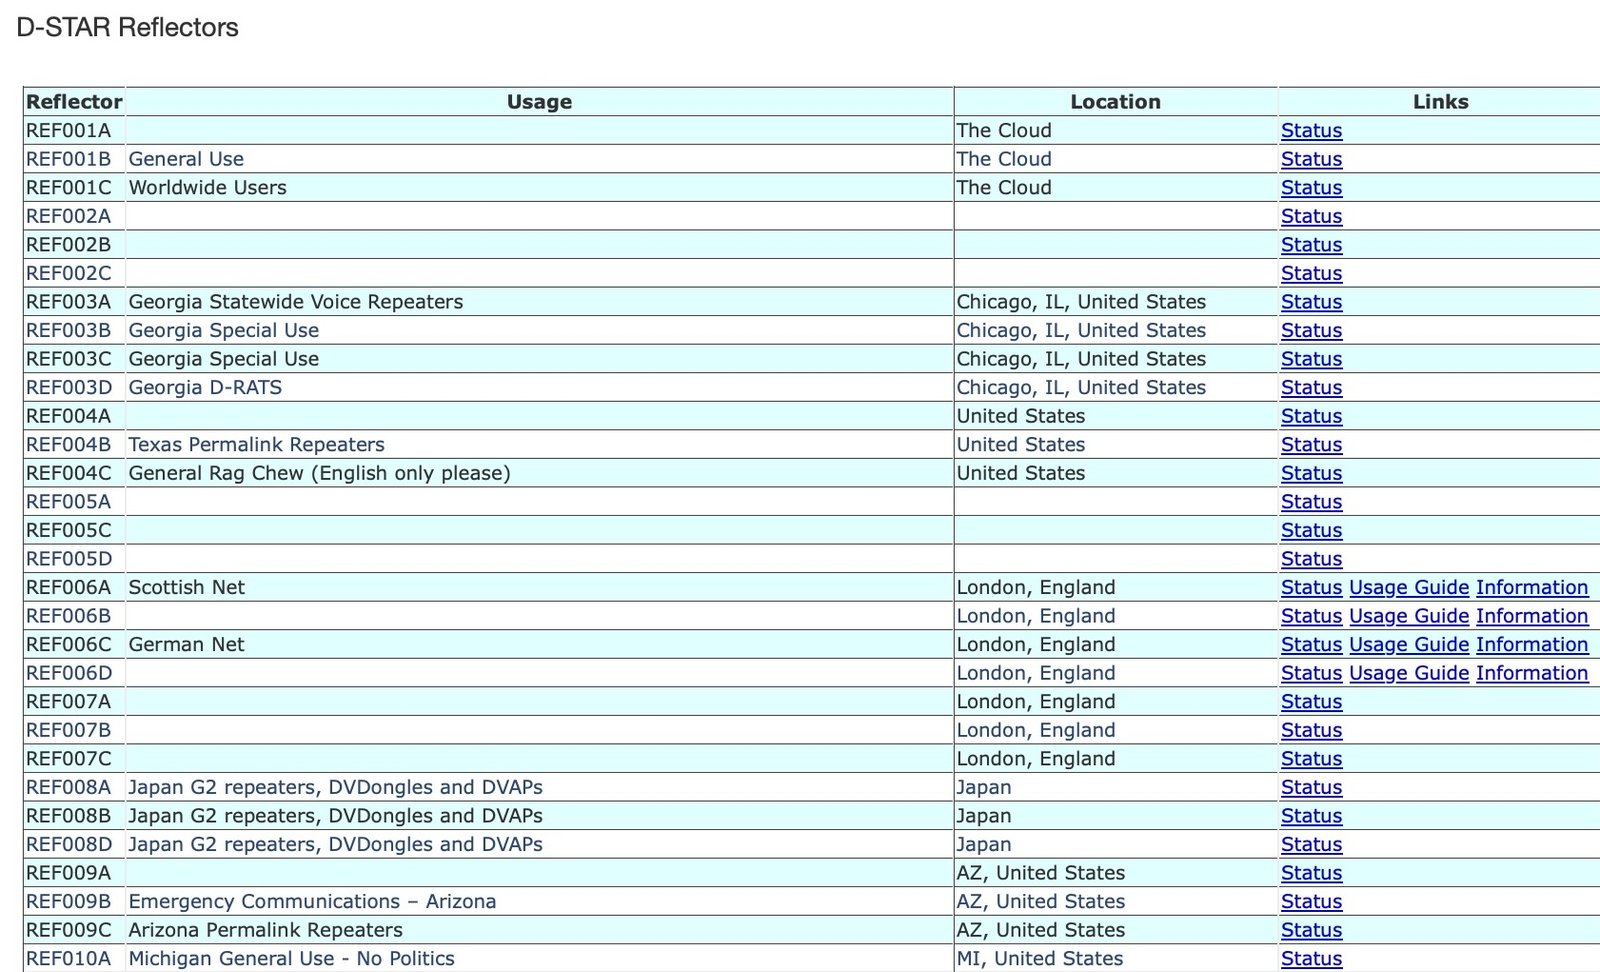
Reflectors are shared gathering points. Some are worldwide calling channels. Some are regional. Some belong to emergency communications groups. Some are just friends who meet up every evening to chat.
To join one, you typically send a short command from your radio telling the repeater or hotspot which reflector to link to. After a second or two, you’ll hear a voice announcement confirming the link, and you’re in.
From there, operating etiquette is very familiar:
- Listen first.
- ID with your callsign.
- Keep transmissions reasonable in length.
- Leave a short pause so others can break in.
Your very first “CQ D-STAR” call will usually get a response. The D-STAR community tends to be friendly to newcomers because almost everyone remembers how strange this sounded the first time.
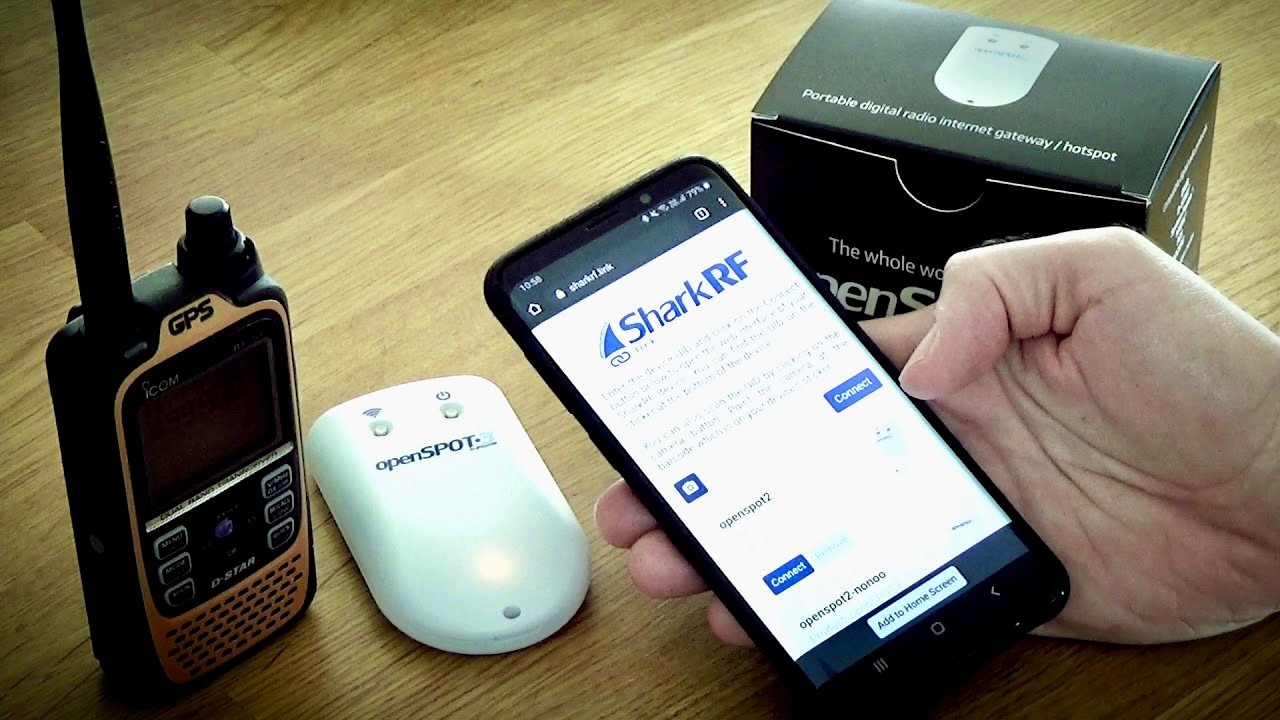
Using a Hotspot (When You Don’t Have a Local Repeater)
No D-STAR repeater near you? That’s extremely common – and not a problem.
A personal hotspot is a tiny, low-power device (often a Raspberry Pi running Pi-Star or similar hardware like an OpenSpot) that creates your own private D-STAR access point. You transmit a few milliwatts into the hotspot on UHF, and the hotspot handles the Internet side for you.
Why hotspots matter:
- You can operate D-STAR from almost anywhere with Wi-Fi.
- You’re not dependent on club infrastructure.
- You can choose which reflector you link to at any moment.
- It’s perfect for apartment/condo operators or travelers.
If you’ve read our Fusion for Beginners guide, think of this like running Wires-X through a hotspot. Same basic idea: you bring the network with you.
Making Your First Digital QSO
Here’s what a first D-STAR contact often looks like in the real world:
You’ve registered your callsign.
You’ve programmed your radio or hotspot channel.
You’ve linked to a reflector.
Now you key up and say:
“This is [your callsign], first time on D-STAR and looking for a quick signal check.”
That’s it.
Most of the time, another ham will come back with something like, “Good audio, readable, welcome to D-STAR.” You’re officially in.
If no one answers, don’t get discouraged. Try a busy reflector (often the big worldwide ones are active almost any time of day), or ask during local club nets advertised as “D-STAR check-in” nets. Many clubs run digital voice nets specifically to help new people get comfortable.
Exploring Beyond the Basics
Once you’re comfortable making QSOs, D-STAR has a few extra tricks you can explore:
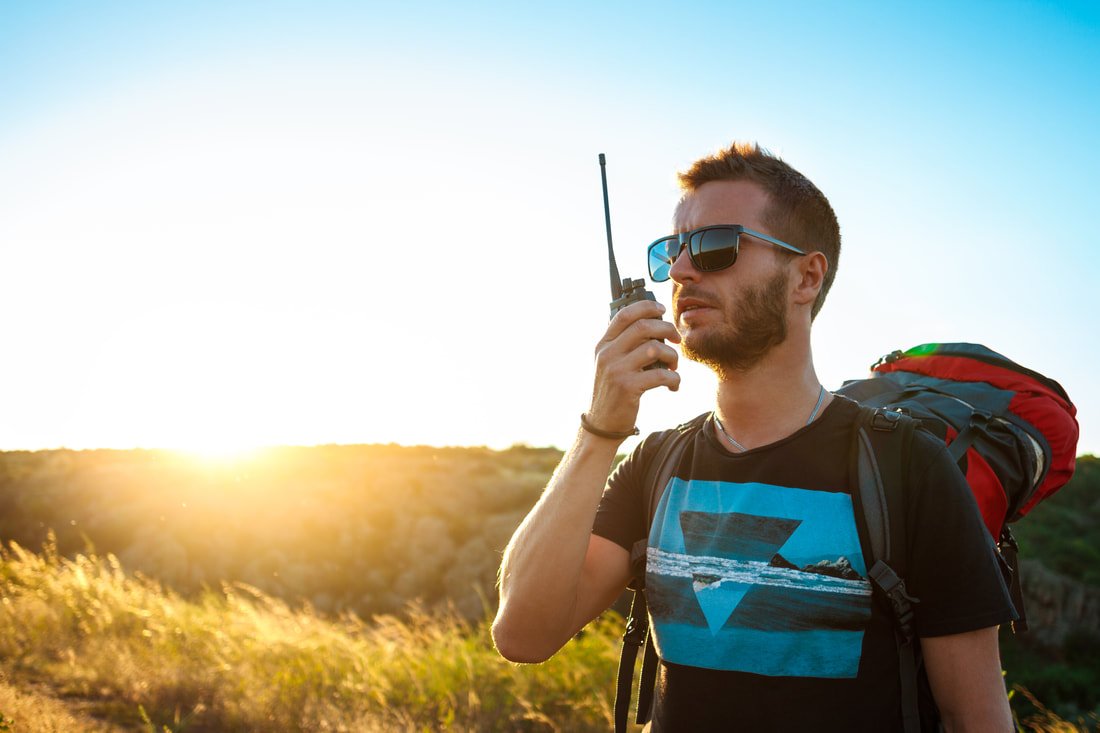
- GPS and position reporting: Many D-STAR handhelds can automatically transmit your location. Other stations can see where you are – useful for events, hiking, or emergency work.
- Short text messages: D-STAR can pass small bits of data along with voice, which some groups use for quick status messages.
- Callsign routing: Instead of just calling “CQ,” you can actually direct a call to a specific station’s callsign if both ends are properly registered. It feels a bit like “dialing” another ham anywhere in the world.
- Cross-mode gateways: With certain hotspots, you can experiment with bridges that let you talk (legally, where permitted) across networks like Fusion or DMR. This is more advanced, but it’s one of the reasons digital voice is so exciting right now.
Good Operating Habits
Just like with analog repeaters, good manners keep the network usable for everyone:
- Listen before transmitting.
- ID clearly with your callsign.
- Leave short pauses between transmissions so other stations can break in and so repeaters and reflectors have time to link and unlink cleanly.
D-STAR repeaters and reflectors are shared resources, often built and maintained by volunteers and local clubs. Treat them the same way you’d treat a physical repeater site on a tower that someone is climbing in the winter to maintain: with gratitude.
Final Thoughts
D-STAR is a powerful entry point into the world of digital voice. It delivers clear audio, built-in callsign and data features, and worldwide reach – all from a simple VHF/UHF handheld. Once you’ve registered your callsign, programmed a few memories, and linked to your first reflector, you’re part of a global conversation.
From there, you can explore hotspots, portable operation, location reporting, and even cross-network linking. It’s an incredibly fun way to see how modern amateur radio blends RF, networking, and community.
Related Reading on EvoHam
- Fusion for Beginners: A Step-by-Step Guide to Yaesu System Fusion
- DMR for Beginners: A Step-by-Step Guide for New Hams
- DMR vs Fusion vs D-Star: How to Choose the Right Digital Ham Radio Mode
Some links in this story are affiliate links. If you choose to buy through them, EvoHam may earn a small commission – at no extra cost to you. It helps support more stories like this.


